Making Art With Limpet Shells

First things first: what are limpets exactly?

A limpet is an aquatic snail with a shell that is broadly conical in shape. “Limpet” informally refers to any gastropod whose shell has no obvious coiling, like the coiling which can be seen in the shells of garden snails or winkles- Wikipedia via Google Search

I was dining with family recently when we sat down to a meal that featured Portuguese Limpets. They were prepared inside of their beautiful shells, and I was fortunate to save a few to clean and reuse.

Limpet

The back of the shell is rough, but it is covered with a small amount of algae when fresh.

Limpet10

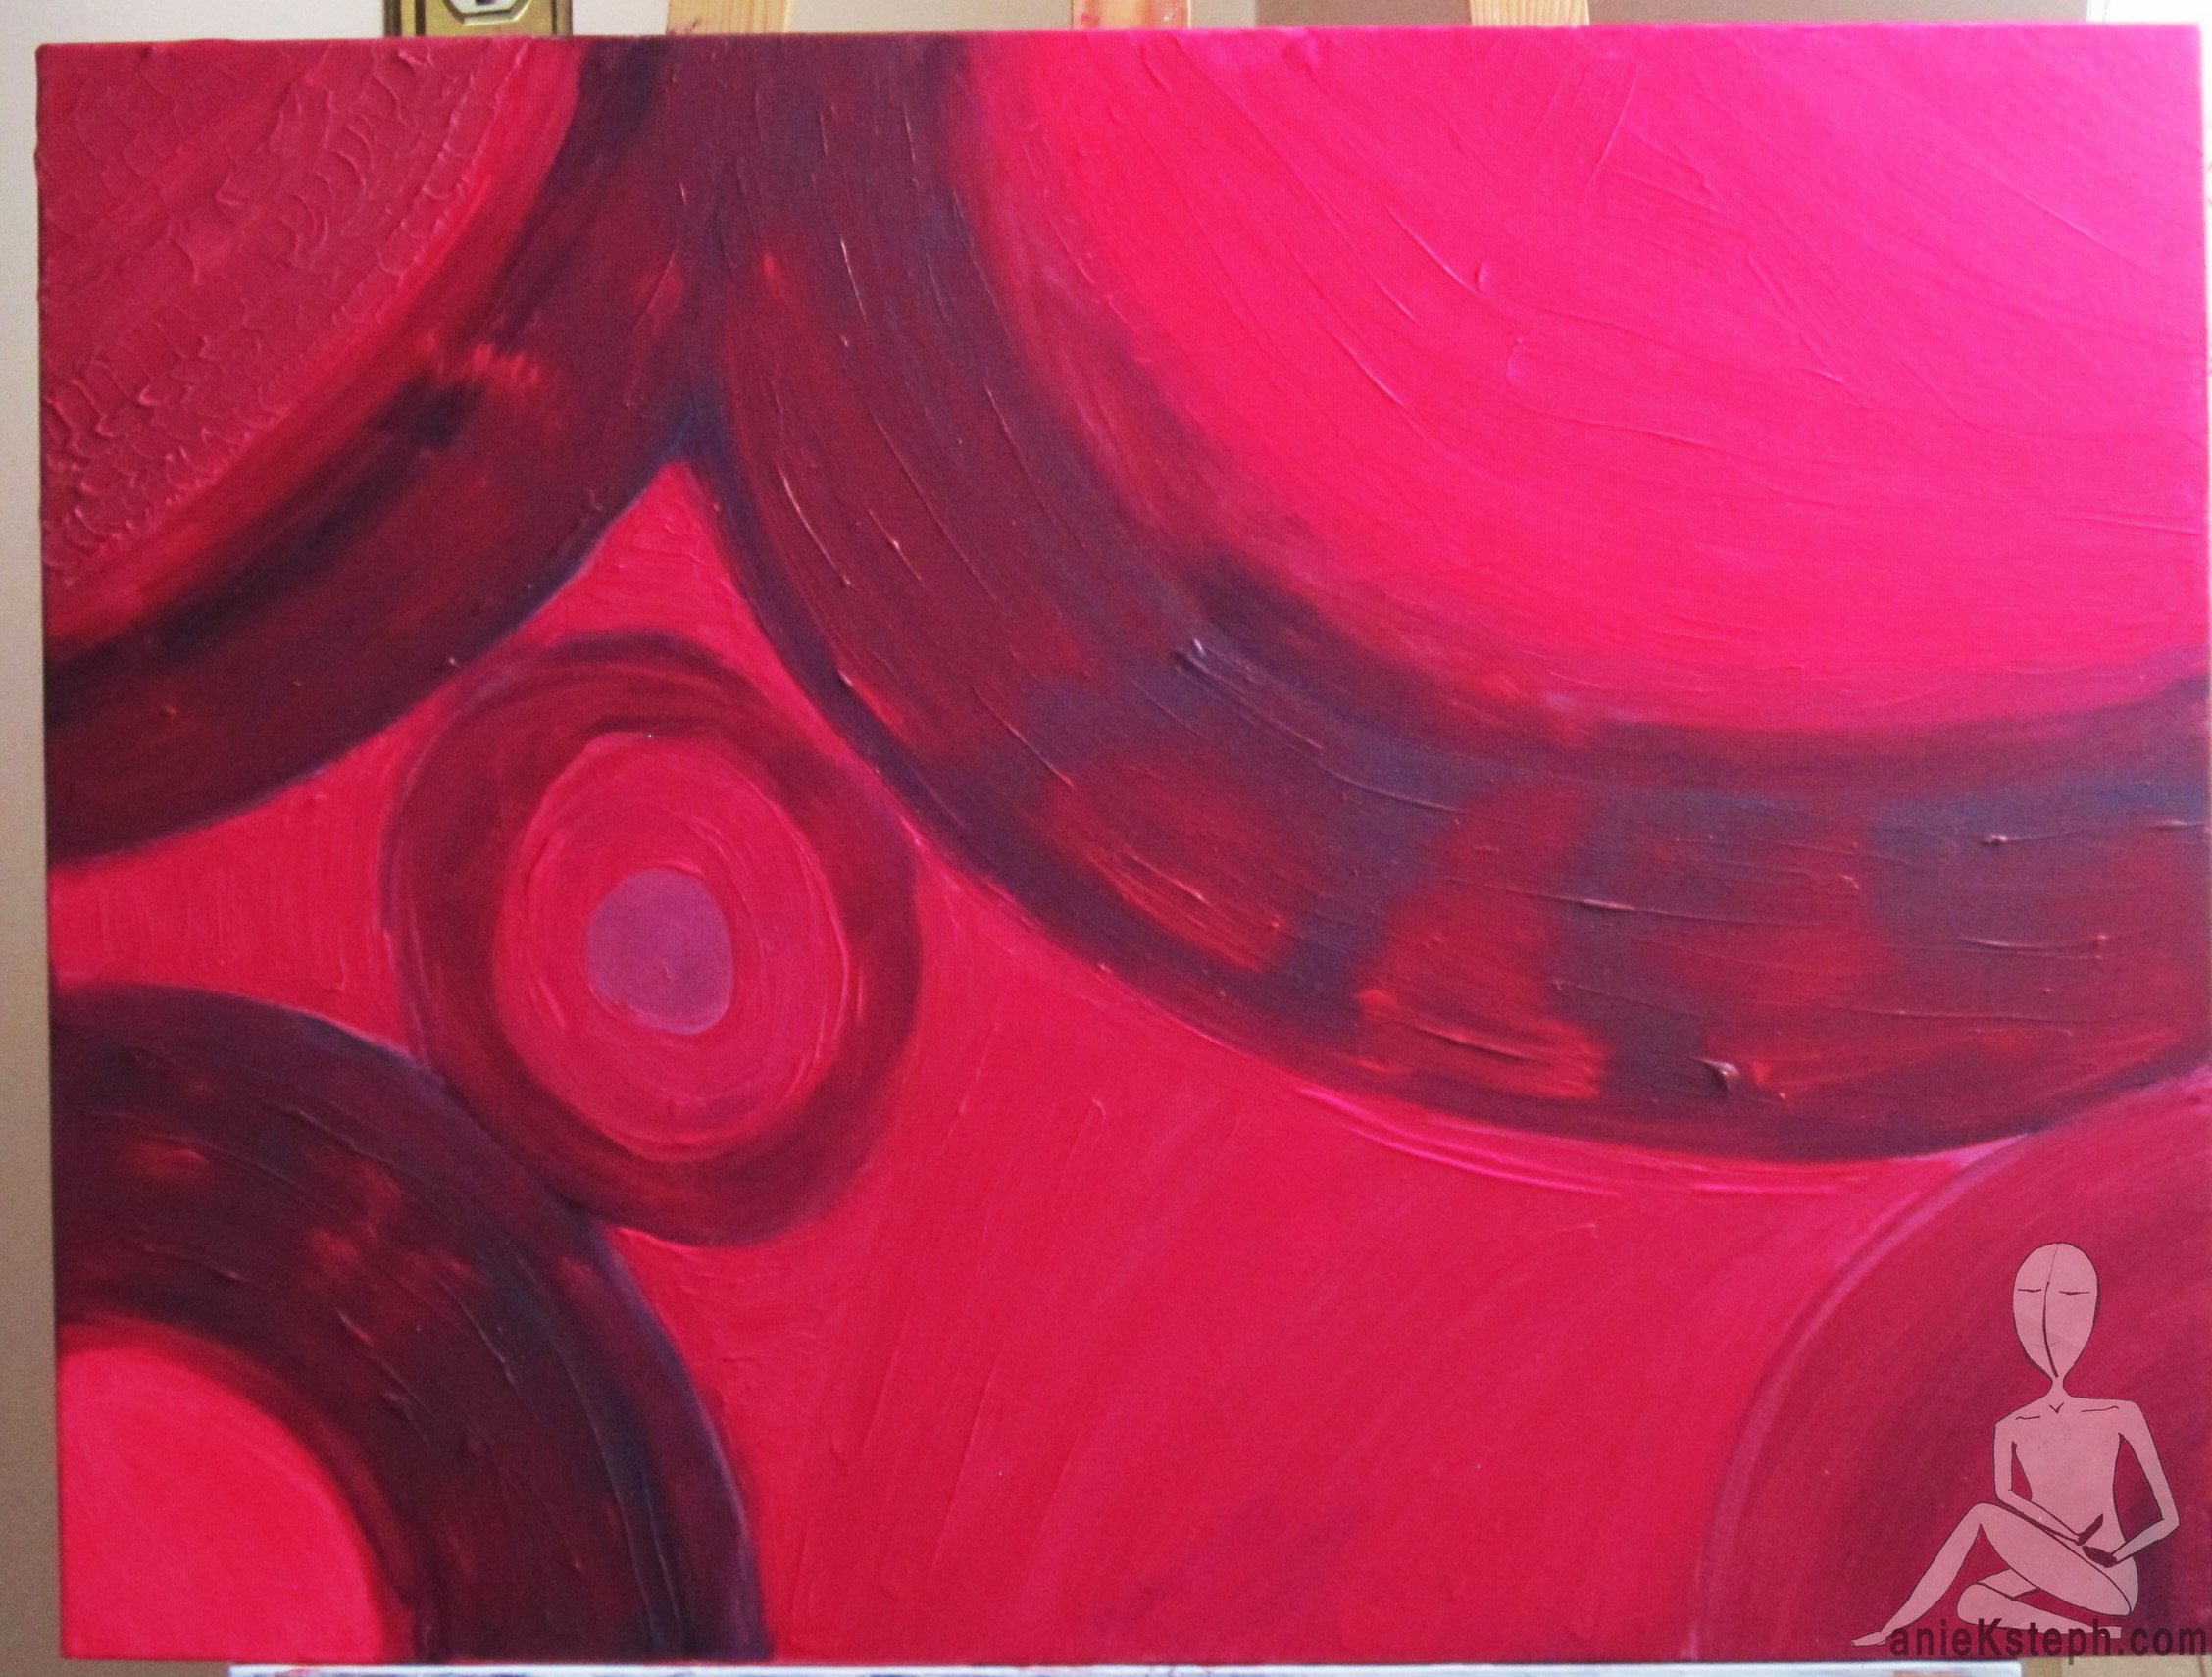
The opalescent colour on the inside of the shell reminded me of a flower, so I incorporated a few into an art piece I had been working on.

IMG_0065

By gluing the shells to the canvas, I aimed to create a textured bouquet as the centerpiece of my artwork.

IMG_0066

I love to create pieces that borrow from the style of Matisse. The thick and heavy lines used in his work always seem to be like a cartoonists impression of a real life scene.

matisse

Matisse would often capture relate-able snapshots into what I imagine might be a Sunday afternoon.  The observer gets to imagine the mood within that setting; sometimes including  a dog or cat sprawled out and enjoying an empty apartment while the owner stepped out to shop.

prt matisse

Thanks for stopping by.

-s

How to refresh old furniture on a budget

bfa


One weekend I stumbled upon this room divider while at a church Garage Sale.

Room Divider 2015 by anieksteph.com

I was not “in love” with the style: a puke green wooden border with some kind of rosy-beige fabric. To cap it all off, the trim on the inner panel between the wood border and the fabric panel was this weird totally dated pearly-pinky hue that was just *bleah*

It needed an update.

Supplies I used:

  • One pair of needle nose pliers
  • a staple gun
  • material cut to size
  • 8mm staples
  • Rustoleum Charcoal paint
  • Medium sized painting brush
  • Small sized painting brush
  1. Step One: removing the undesired trim. This was pretty easy, as the trim was secured with what looked like hot glue in a thin to medium bead
    around each panel. A firm tug easily allowed it all to come off cleanly.

    Step One
    Step One
  2. Step two: (Not so) gently pulling apart the existing fabric from the wooden border. I started off from the top of each section of the divider by pulling out staples with my needle nose pliers. Once I got a good section opened up, I found that it was easier to just tug on the fabric and pull the remaining staples out that way. I was careful not to tug too hard so that the fabric ripped, but it was a pretty sturdy Jacquard so it held true for the most part.IMG_0016 - Copy

    Step 2
    Step 2
  3. Once I had my bare divider sections, I laid the entire thing on the floor to begin prepping for the big paint job. A light bit of sanding here and there, was needed, but the wooden border was not in bad shape: it was just the colour that I couldn’t stand!IMG_0020 - Copy
  4. Step four: Painting can be a troublesome task for some- and I used to dislike it the most when performing refreshes and updating things around my home. By learning a few tips and tricks over the years, I have been able to greatly improve my painting, and avoid my all too common disappointments at my finished products. One of the tricks I learned was to paint doors, and anything flat that involves panels in this order:IMG_0021 - Copy
    I used Rustoleum brand Charcoal paint. It’s available at Home Depot in the paint section, and is pretty affordable at around $30. That may seem like a high price, but due to the viscosity of the paint, the quart size goes quite a long way.
    chalk rustolem

    IMG_0022 - Copy
    All Quarters painted first!

    IMG_0023 - Copy
    Following quarters up with borders around the right and left sides.
  5. Step five: Using the old fabric as a guide for the new; I ironed the material to make sure it was perfectly pressed and flat. Once ironed, attached the new fabric on the divider with 8mm staples and my trusty staple gun.
    IMG_0047
    Rawr! Love the prints.

    **Note I still need to visit the fabric store to select the new trim. Updates coming soon!

And of course the candid photo of the newly created piece as it will be in its natural habitat..

IMG_0049


I needed 9.5meters of low pile carpet trim, and I was able to find that in a 1/4 inch width quite easily at the fabric store for about $2.60 per meter.

Finished Room Divider with Border.

The border makes the divider look “finished” and professional. I call this DIY a true success!


Comissioned work- an apron named “Cheffrey”

cheffrey apron
An apron named Cheffrey

This was an experimental design for an apron to say the least. It was commissioned for a man, so I immediately decided that the shape and function needed to be masculine. Inspired by male characters from video games, I created a slouchy side apron with a diagonal flap. The flap covers three pockets that are hidden, providing full functionality. I hope the clients like this piece, as I think it truly showcases LillyBoChic originality.IMG_3205

Acrylic on home made canvas in blue and violet

Return of the Man-O-War (Jellyfish Army) 2015- Home made canvas, and Abstract acrylic.

“The name really caught on to me once I finished this piece. So experimental. Sharp contrasting blue sky against eclipsing doom: a massive jellyfish. I worked with ink here for the strong black lines across the horizon. I wanted the image to evoke a sense that this large object was going to overcome all structures and life in its way. The buildings are made to be like melting objects, similar to a nuclear attack.” –
-Anieksteph 2015

Art in Motion: Creating the Weeping Beach

Art in Motion https://youtu.be/zq3_6K4mfI4 via @YouTube


Here we have a simple two panel divider that was designed as a gift for a child. The concept I had when creating this was to have two frames stretched with canvas joined together with a thin hinge. The result is to have an open and closable apparatus that features a fun and imaginative design. When the piece is half closed it can be used as a play/dressing screen for a small child as it will stand on its own, yet is still lightweight enough to not be dangerous if knocked over.

That’s all for now, thanks for stopping by!

-S

Weeping Ocean and Untitled Acrylic on Canvas

WeepingOceanSilentCave

The bright pink piece is entitled “Weeping Ocean”- however I am still deciding what to entitle the darker one. The contrast of their colour compositions didn’t exactly go as planned. I wanted the blues in the untitled piece to be a bit deeper- like a midnight blue.

The most interesting and unusual aspect of this piece is that attached the frames to each other with a hinge. The two can be opened to stand on its own, or laid flat to be hung together.

standingDayandNightblustandingDayandNight

Eye of the Hill- The dark road into the unknown alien landscape

image
Abstract Acrylic on Gallery Wrapped Canvas “Eye of the Hill” by Konu

“This road…this ever referenced road that leads to all sorts of places…”

That quote is the idea that I went for in “Eye of the Hill”. Here we have an unnatural, alien-like landscape with green hills and orange soil. In an abstract sense we could see that the sky is also green, or that the rolling hills go on forever. The observer is held to feel that they are at the foothills of an astonishing journey; one that leads to an all seeing eye.

StarBlast Acrylic on Gallery Wrapped Canvas

Item for sale on Etsy.

I created this piece this month- it took about 6 hours. I really enjoy the colour composition; the play between light and dark. It’s really easy to lose yourself in the arrangements demonstrated, and I’ve found guests who have seen it in person to stare at the intersecting lines in a Rothko-esque fashion. (Famed artist Mark Rothko (d. 1970) was said to believe that large art is best observed 18 inches away from the canvas surface.)

You can check out the listing for this piece here.