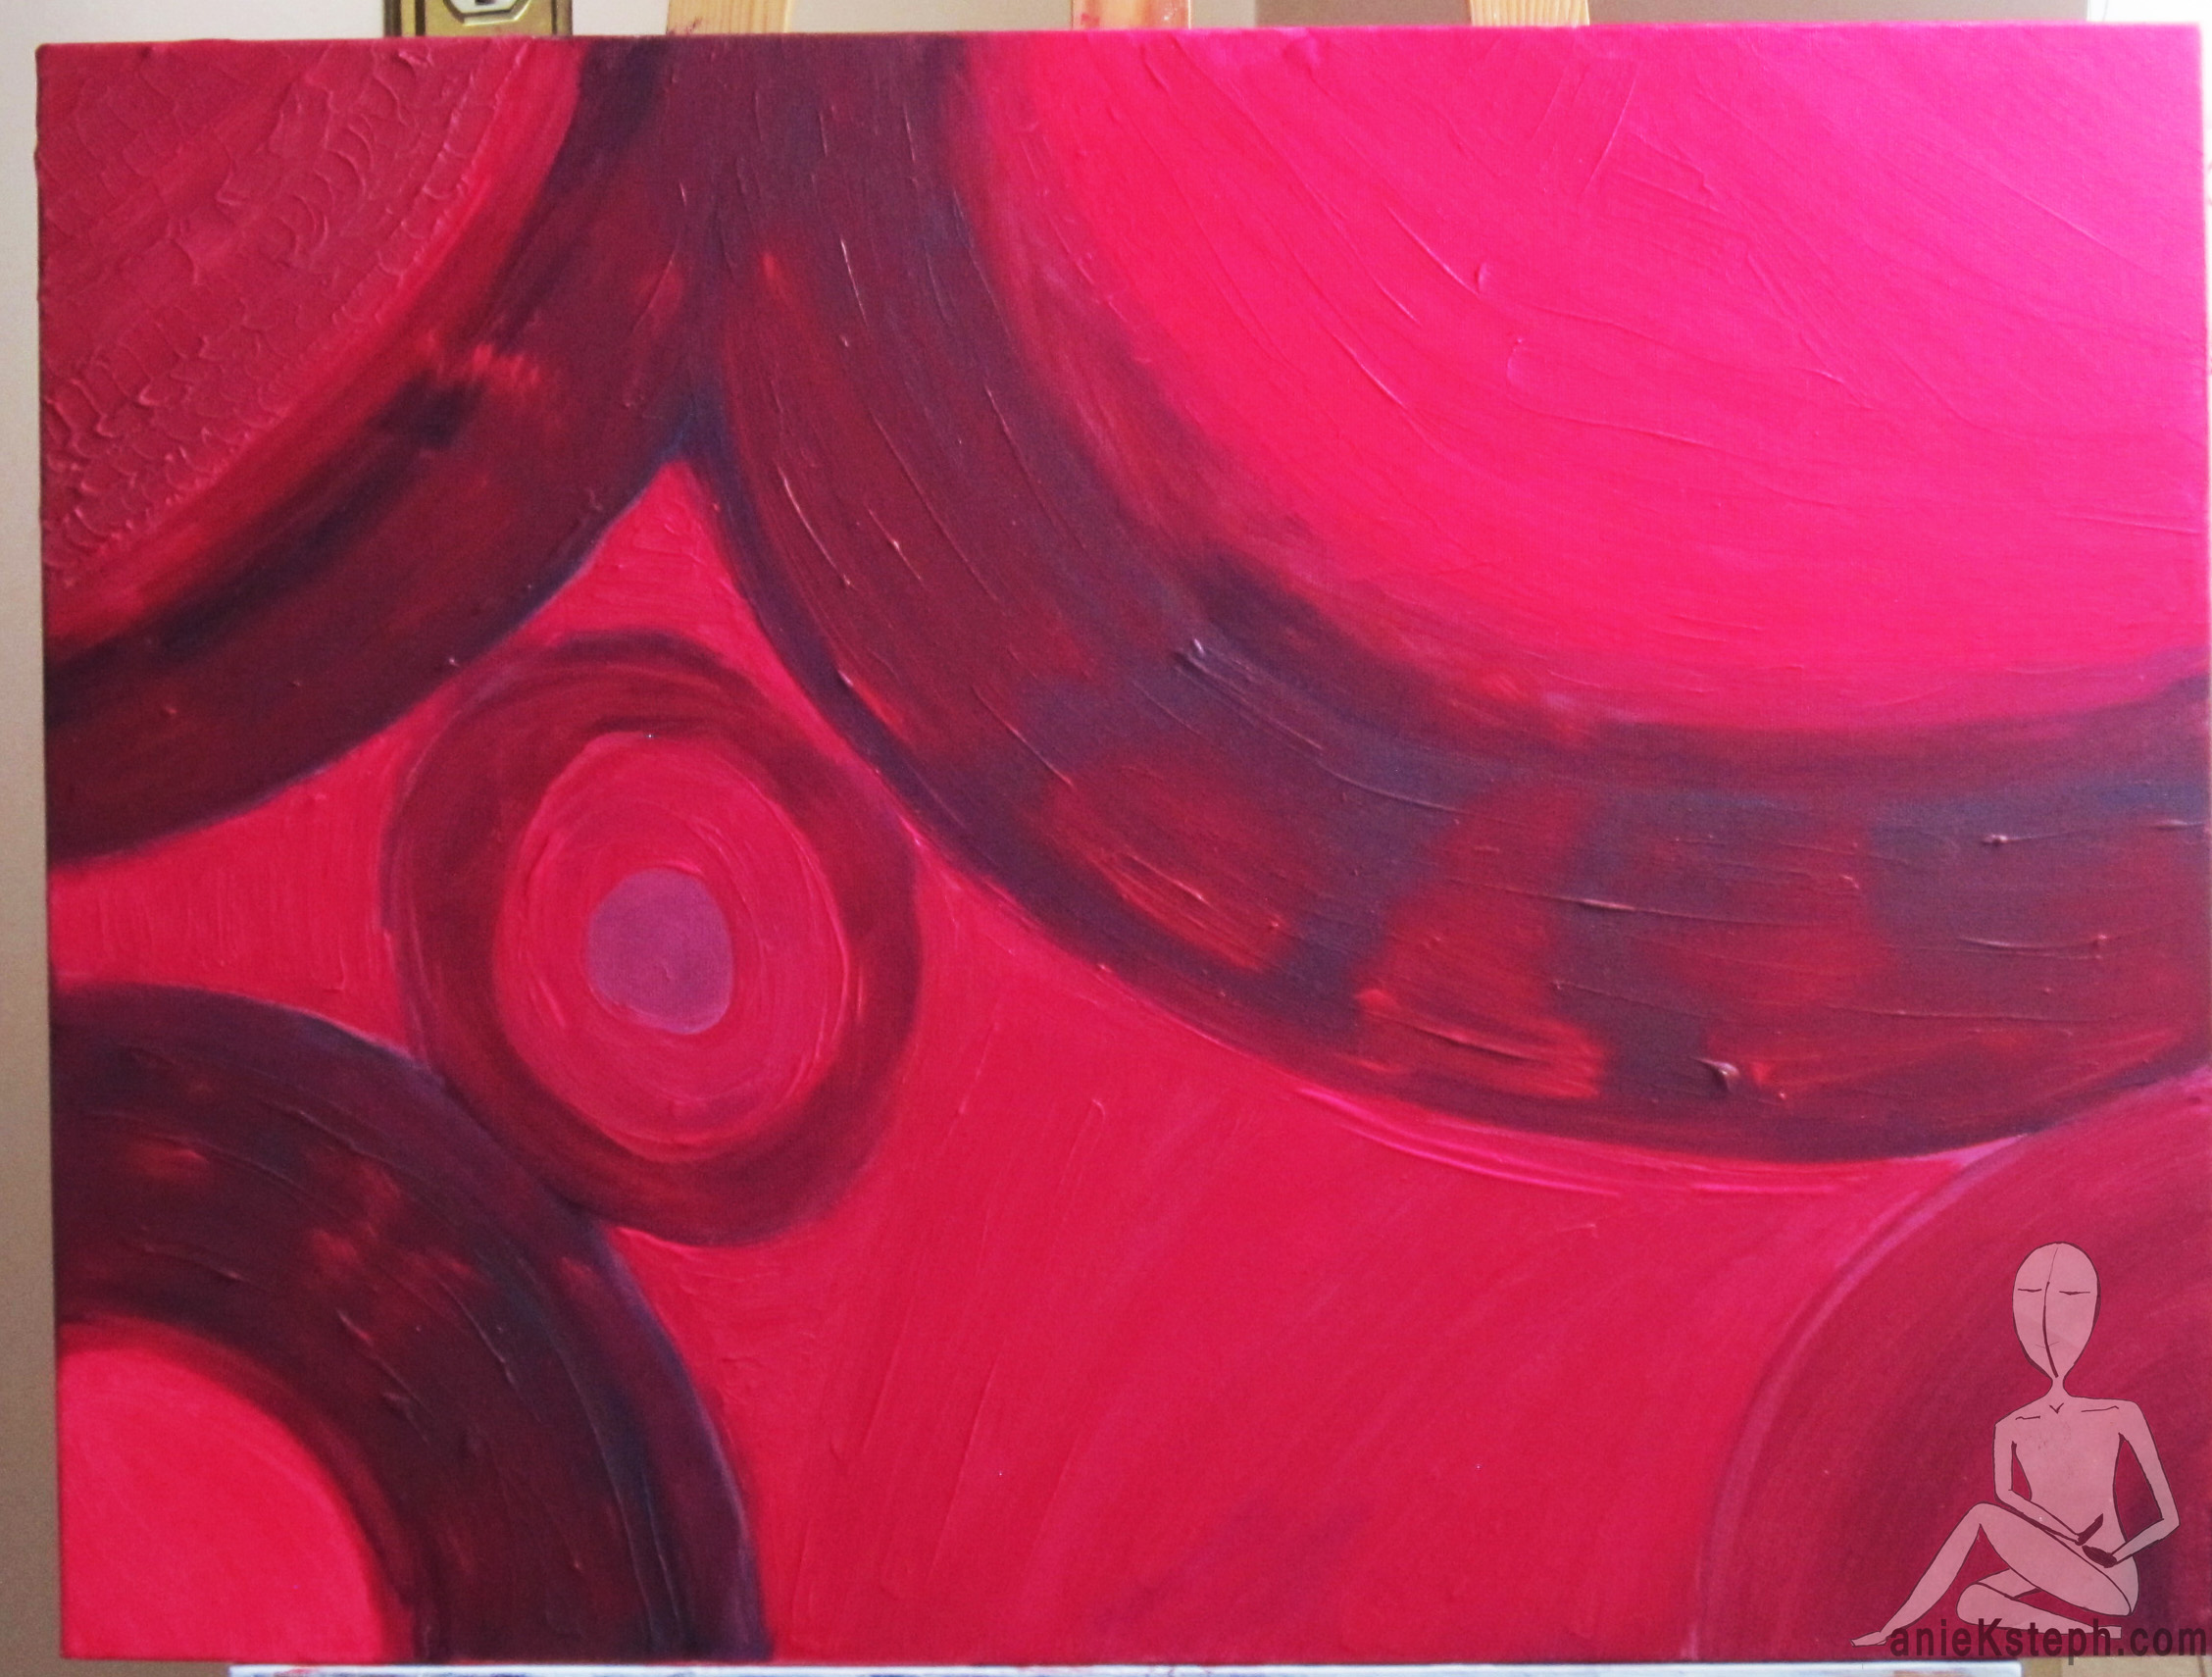
Colour composition is thrilling! I painted this acrylic on canvas a few nights ago. I may take further steps with this piece, but sometimes when it’s right, it’s perfect.

Where everything else falls…in the life category.
Colour composition is thrilling! I painted this acrylic on canvas a few nights ago. I may take further steps with this piece, but sometimes when it’s right, it’s perfect.

Check out how dirty my easel is getting!
This was one of my first canvases that I made from scratch; by cutting knotty pine to size and using wood glue and staples to secure the rectangular shape. I don’t think i had discovered gesso yet, so I made a mixture of white acrylic paint, Elmer’s glue, and wood glue to prime the cotton material for painting.
As a sewing aficionado, I have a rather large collection of fabric that I keep in my studio. It has resulted in a great segway into stretched canvas creation for my paintings. (You can bet your pants that I will explain more about that in a future post)
-s

This is an experimental design of acrylic on canvas that I completed a few weeks ago. I call it: “Into the Bubble-verse”. My idea was to illustrate a universe of blue bubbles; however, without knowing that they are bubbles, an observer could draw other observations. I’m actually inspired to paint another similar piece that connects more abstractly to the idea of a bubble universe. (*giggles* I hope you can tell how much I enjoy this new hobby).
Alas I have gifted this piece to my dear brother for his birthday, after he mentioned how much he liked it.
’till next time!
-s
One evening, I was tinkering around my kitchen when I had a serious craving for a delicious homemade quiche. I began to fret about the amount of fat, flour and time I would need to make a savory and worthwhile crust, when an idea came to me.
I am sure that I have seen this recipe elsewhere, but the memory of it presented itself to me at the best possible moment…
Instead of using a crust, I thoroughly greased the glass baking dish with vegetable shortening (you can use butter if you so please). I can’t stress enough how important it is to have the dish well greased, as this is what enables the quiche to “pop” out after it has been cooked, and not stick to the dish (also be sure to grease the sides). After greasing the dish, I sprinkled a thick helping of cornmeal to coat the bottom and sides of the greased dish. Ensure that every corner and crevice is generously coated with the cornmeal. You can buy cornmeal at most stores- although depending on your area you may find it under Caribbean or Portuguese sections of your grocery store. It is a great substitute/ addition to flour as it is much coarser and less processed.
It’s a quiche (with all of the normal ingredients) including: 5 eggs, milk, veggies, cheese- blended together lightly. In this particular example the fifth egg was unbeaten- you can sort of see the yolk sticking out in the middle of the photo.
When it cooled- the quiche “popped” out quite easily, and all of the cornmeal stuck to the sides and edges. Below is a quiche-selfie…although I use the term selfie loosely as crustless-quiches do not have arms with which to take photos of themselves.
Enjoy!
-S

*UPDATE**
I also decided to include an image of what the glass dish should look like after coating the entire surface with butter (or shortening) and a healthy dusting of corn meal. (see below):


As you can see in the photos above, I’ve free-handed a very cute child size apron for a girl- size 4. Instead of a regular hemline, I decided to add a frill made from the same material as the bodice.
The neck ties are also made from the same material- I did this by making a simple bias tape that I stitched together over top of raw edges. The result is a very finished look- and a garment that will last for years to come.

Both designs are available in my LillyBoChic store on Etsy!


My dear friend helped me model a few of my apron designs- and honestly, the product shows so much better on a real person, as opposed to a mannequin. I will definitely continue to use models, and I will try to actively recruit friends and family for this.


This was a freehand design from a while ago. Really original and totes hot look!
I really let my imagination run with this one, (No sketches, or pre-determination of how the apron would turn out). I dare anyone to find something exactly like this!
I started with the concept of a drawstring waisted apron that would feature a deep front pocket and incorporated frills. The best part about this design is that the waist is slotted into the bodice of the apron. This pretty much guarantees that the waist ties will never come detached–ever! The full execution of this design took me about 6 hours, and it is a lovely addition to the LillyBoChic collection.


Yes- this quadrilateral is supposed to illustrate a sleeve cut open and pressed/ironed flat. In the next step it will be clear why we did this…

We will use the sleeves to make bias tape for our sleeves and add an accent waist strap for our new re-fashioned top.
I will post future items on how exactly bias tape making works- but for now you can check out this blog at www.danamadeit.com to see how it is done.
The finished product includes bias taped sleeves, and a waist tie accent.


That’s all for now, thanks for stopping by!
-S

My small guest room refresh started with choosing a bright and comforting wall colour called: Blue Hydrangea.

Using Behr Ultra colour from The Home Depot we only needed two coats of paint.


Installing a ceiling fan was no walk in the park: before securing the fan, we had to go into the attic space to ensure outlet box was mounted to a beam. That way there would be both something secure for the fan to screw into, and no danger of the fan becoming loose and falling from its mount years later.


We installed the crown moulding with a soft metallic seashell colour from Rustoleum’s Metallic paint line from the Home Depot. As a finishing touch, we replaced the old wood bi-fold doors with border-less mirrored bi-fold doors. I just love the idea of replacing wooden doors with mirrored doors for rooms that don’t have formal mirrors. They are functional and help to save on space.
Here are some final shots of the crown moulding after using some extra coats of Rustoleum’s Metallic paint in Seashell.


